
How to work a ceramic hob
Working with a ceramic hob can be efficient and safe if you follow the correct steps. Here is a detailed guide on how to work with a ceramic hob:
Safety Precautions
Before you start using the ceramic hob, ensure that you follow these safety precautions:
Read the User Manual: Always read and understand the user manual provided by the manufacturer. Different ceramic hobs may have specific features or safety instructions.
Ensure Proper Ventilation: Make sure the area around the ceramic hob is well-ventilated to prevent the build-up of heat and odours.
Clear the Area: Remove any items, especially flammable materials, from the vicinity of the hob. This includes towels, paper, plastic, and other potentially hazardous objects.
Check Cookware Compatibility: Use cookware with a flat, smooth, and clean bottom. Cookware that is not flat may not make proper contact with the ceramic surface and may not heat evenly.
Wear Appropriate Clothing: Avoid wearing loose or long-sleeved clothing that could catch fire or get in the way while you're cooking.
Using the Ceramic Hob:
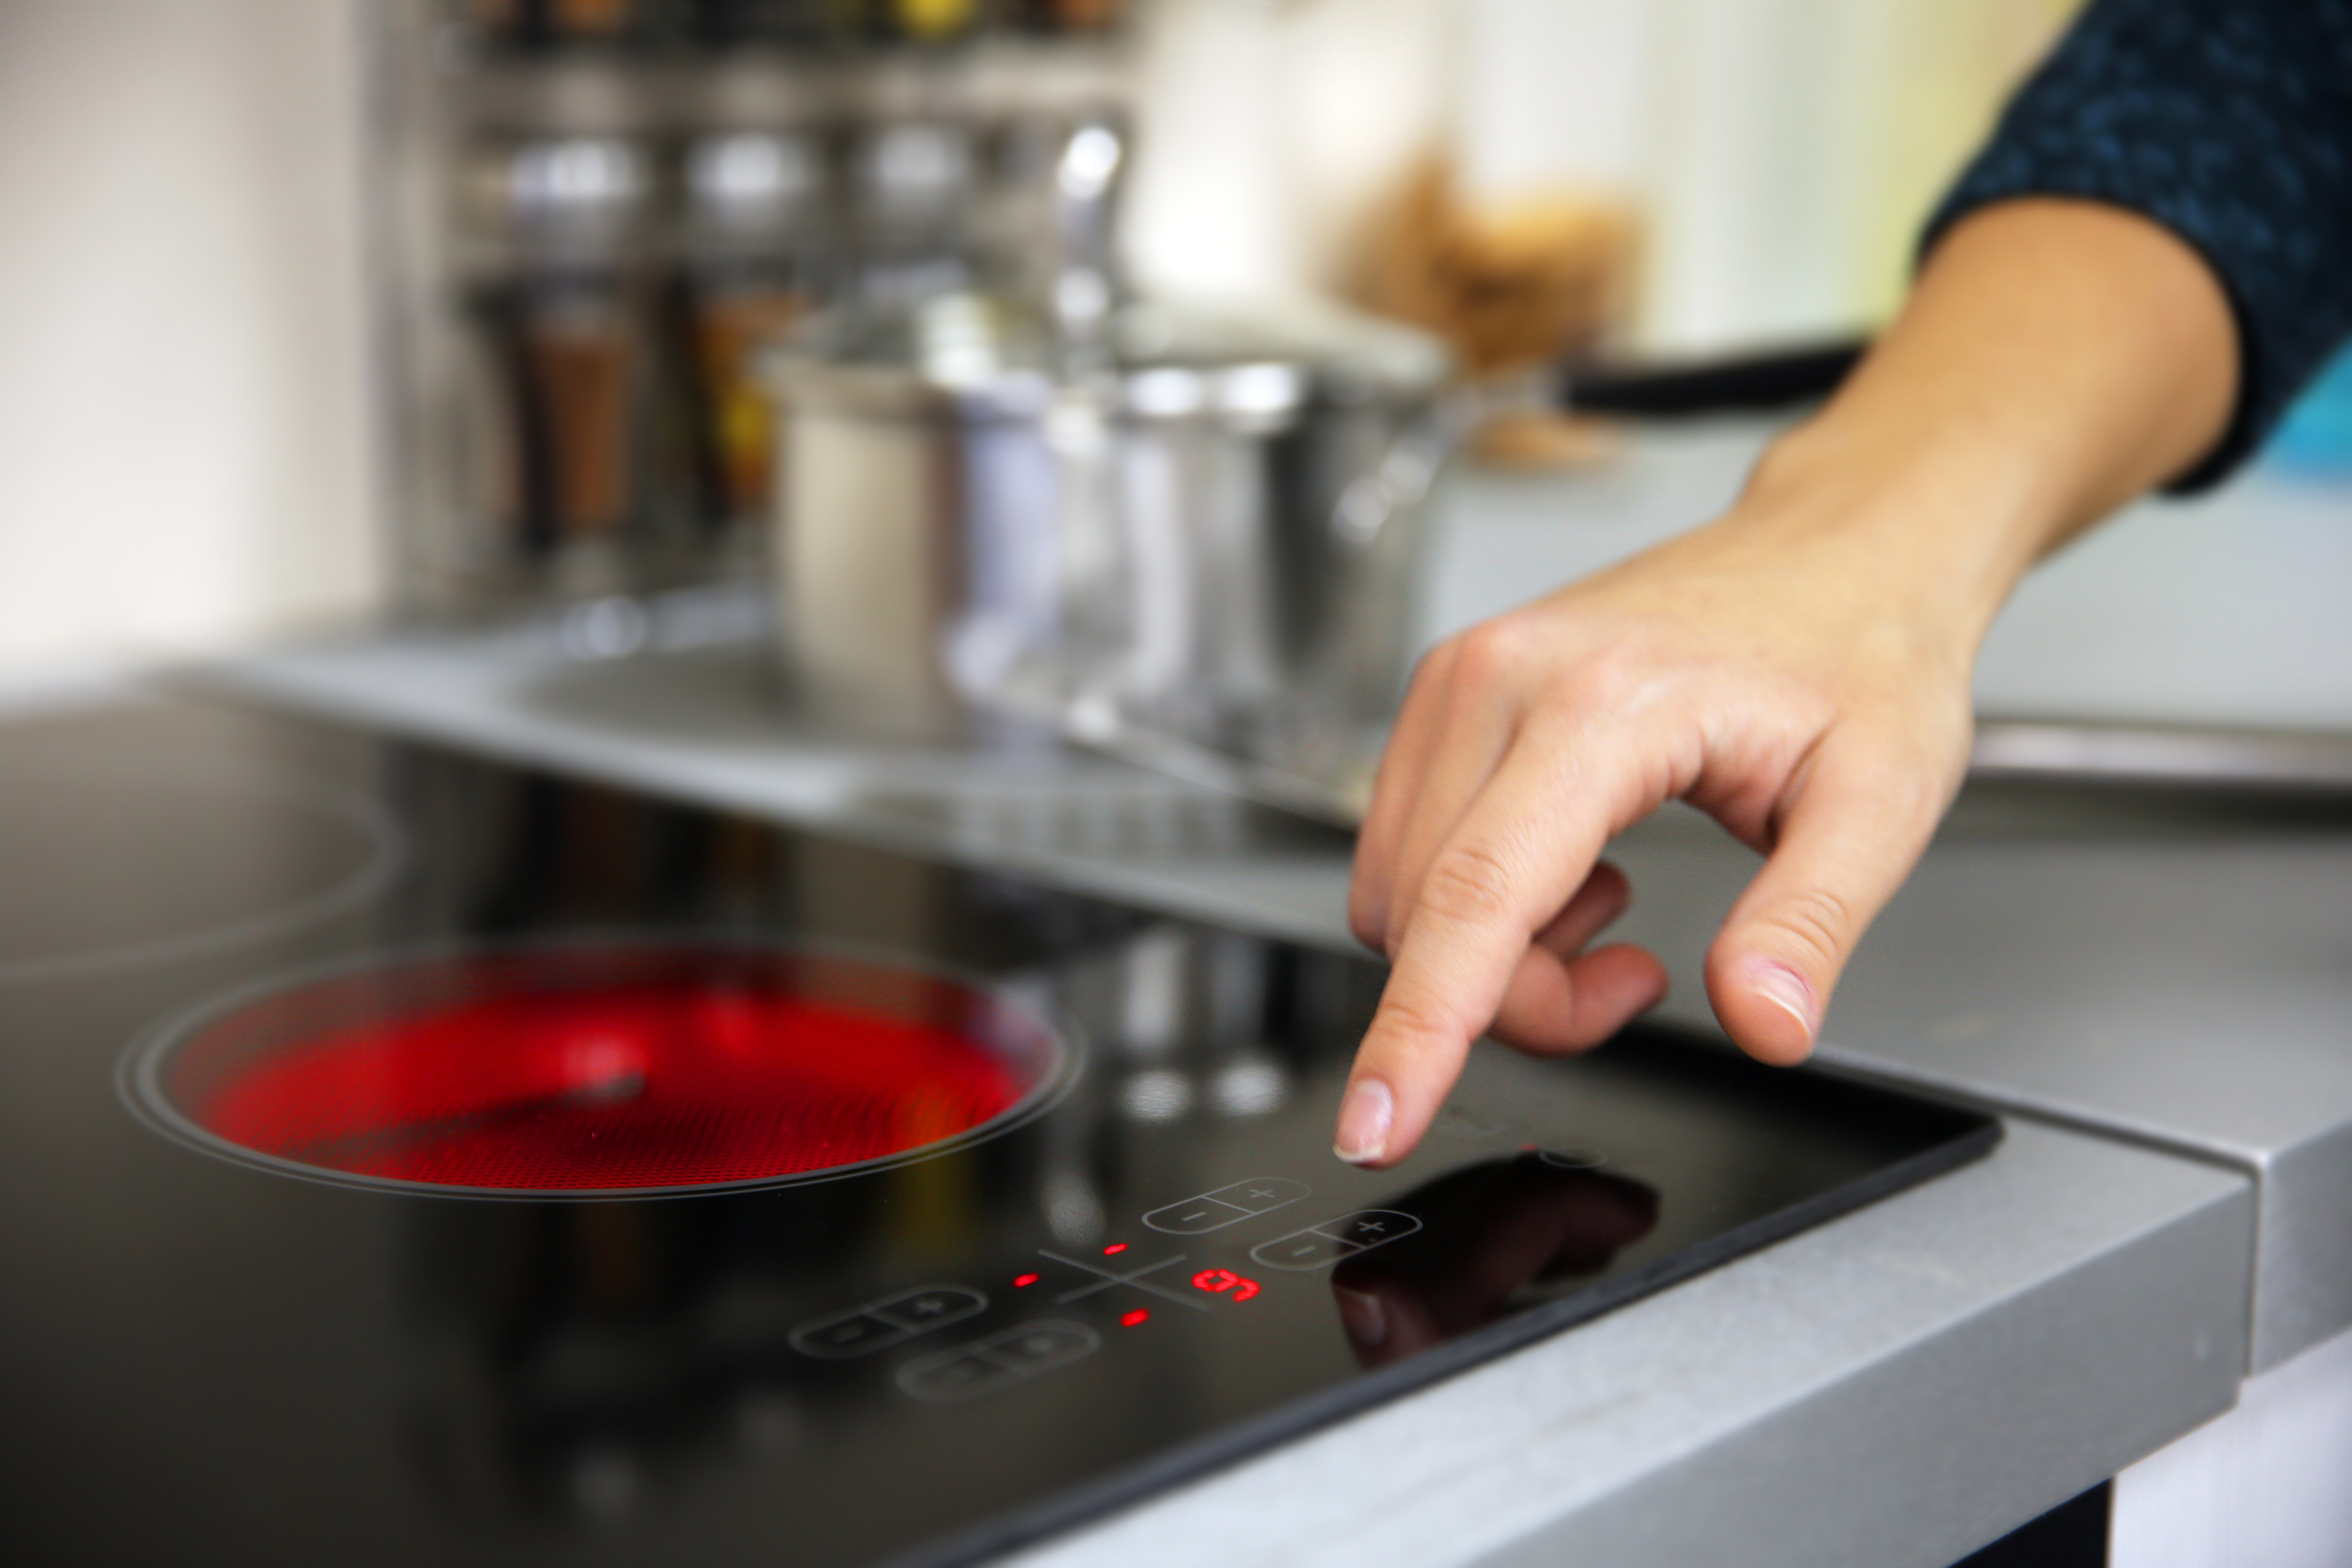
Power On: Make sure the hob is properly connected to a power source. Turn on the hob by using the control panel or power button.
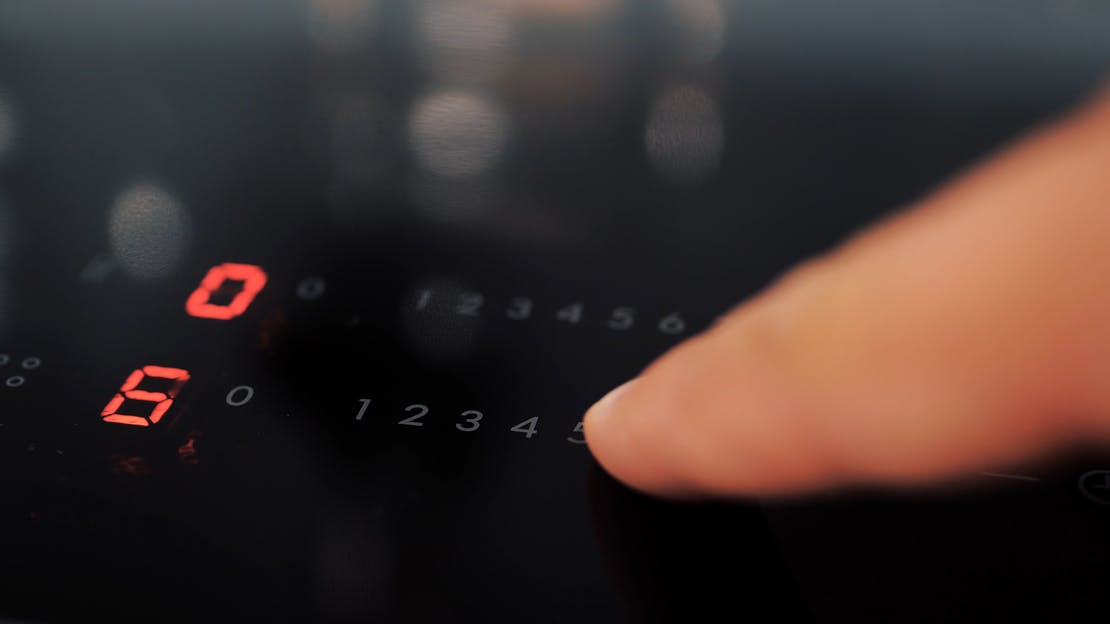
Select the Cooking Zone: Most ceramic hobs have multiple cooking zones or burners. Select the zone you want to use by touching the corresponding control area or turning the knob, depending on the hob's design.
Adjust the Heat: To adjust the heat level, use the temperature controls. Typically, you can increase or decrease the temperature by pressing the "+" or "-" buttons or turning a knob. Refer to the manual for specific instructions on your hob.
Preheat: Allow the selected cooking zone to preheat to the desired temperature. Some hobs may have indicator lights that show when they're ready.
Place Cookware: Put your cookware (pots, pans, etc.) onto the selected cooking zone. Ensure that it is centred and in contact with the ceramic surface. The heat is transferred through direct contact, so good contact is crucial for efficient cooking.
Cook: Start cooking by placing your ingredients in the cookware. Adjust the heat level as needed during cooking. Avoid sliding cookware on the surface to prevent scratching.
Timer: Many ceramic hobs have built-in timers. You can use these timers to set a cooking time and receive alerts when your dish is ready.
Switch Off: When you're finished cooking, switch off the hob using the power button or control panel. The ceramic surface will remain hot for a while, so exercise caution and keep children and pets away from it.
Cleaning: After the hob has cooled down, clean it with a ceramic hob scraper or a soft cloth. Remove spills and stains promptly to prevent them from hardening and becoming difficult to clean.
Safety After Use:
Switch Off Power: If your ceramic hob has a switch, switch it off using the power control when not in use to prevent accidents.
Child Lock: If your hob has a child lock feature, activate it to prevent unintended use.
Regular Maintenance: Follow the manufacturer's recommendations for maintenance and cleaning. Regular maintenance will ensure the hob's longevity and safe operation.
Remember, it's essential to familiarise yourself with your specific ceramic hob model's features and instructions, as there may be variations in controls and safety features among different brands and models. Always prioritise safety while using any kitchen appliance.
What Do the Icons on a Ceramic Hob Mean?
Here's the explanation of each of the common symbols you might find on a ceramic hob:
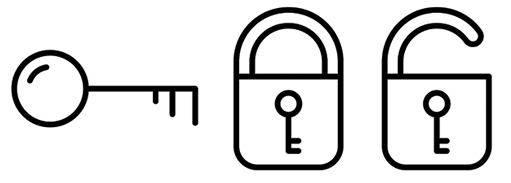
Safety Lock
The safety lock symbol represents a safety feature that locks the hob's controls to prevent accidental activation. When engaged, it prevents the hob from being turned on or having its settings adjusted. This feature is particularly useful for child safety and can be unlocked by following specific instructions, often found in the user manual.
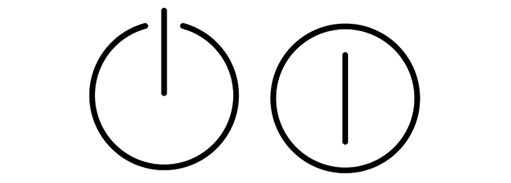
Power On
The "Power On" symbol indicates that the hob is powered on and ready for use. Accompanied by a light or indicator, it shows that the hob is receiving power and is in standby mode, ready for cooking.
+ / - Power Setting
These symbols serve as controls for adjusting the power or heat level of the cooking zones on your ceramic hob. The "+" symbol typically increases the heat or power, while the "-" symbol decreases it. You can use these controls to set the desired temperature or power level for your cooking needs. Some hobs may also include numerical indicators alongside these symbols to display specific heat levels.

Timer
The timer symbol indicates the presence of a built-in timer function on your ceramic hob. This feature allows you to set a countdown timer for your cooking. When the timer reaches zero, the hob may emit an audible signal to alert you that your cooking time is up. It is particularly useful for recipes that require precise timing.

Stop Go
The "Stop Go" symbol is a convenient feature found on some ceramic hobs. It enables you to pause cooking temporarily and resume it later with the same settings. For instance, if you need to briefly leave the kitchen or attend to another task, you can press the "Stop Go" button to pause cooking. When ready to continue, pressing the same button will resume cooking with the previous settings. This feature facilitates multitasking during cooking.
Keep in mind that the appearance and functionality of these symbols may vary depending on the brand and model of your ceramic hob. Always refer to the user manual for your specific hob to understand how to use these features effectively and safely, as they may have unique control methods and functions.
Frequently asked questions
How do you unlock a ceramic hob?
How do you turn on a touch hob?
How long does a ceramic hob take to heat up?
How long does a ceramic hob last?
How do you cook with a ceramic hob?
How hot does a ceramic hob get?
Do ceramic hobs use more electricity?
Do I need special pans for a ceramic hob?
Do ceramic hobs stay hot?
Top Selling Ceramic Hobs from MyAppliances
Explore our best-selling ceramic hobs, where style meets efficiency. With rapid heat-up times and intuitive touch controls, cooking becomes effortless. Experience consistent heat distribution and impeccable results every time. Upgrade your kitchen with our top-selling ceramic hobs today.