How to Install a Cooker Hood Kitchen Extractor Vent Kit
Welcome to our guide for fitting our MyAppliances KITVENT1 125mm cooker hood venting kit. Follow these steps, gather your tools, and let's get started! .
What's included in the pack?
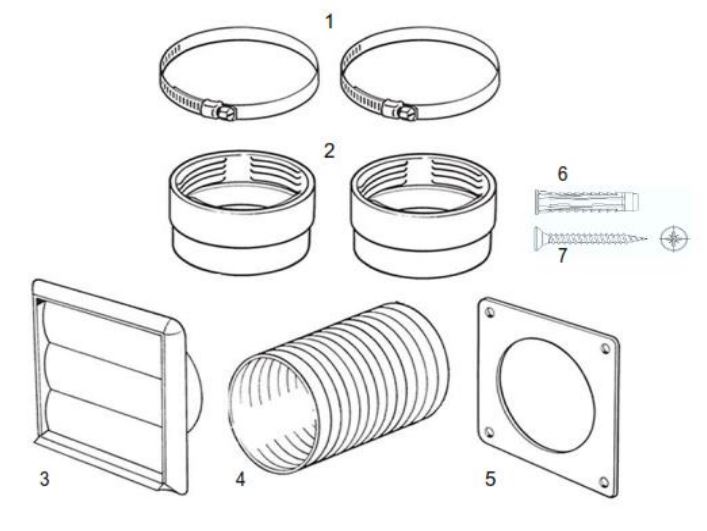
- Wormdrive Clamp x 2
- Duct Connectors
- External Grille
- 2.5M Flexible Ducting
- Internal Ducting Trim
- Rawl Plug x 8
- Fixing Screw x 8
125mm Cooker Hood Venting Kit Fitting Instructions
Advisory note: Please check that all the parts listed are in the pack prior to fitting this product. Depending upon the type of installation not all the components may be required.
Items you will need: Silicone sealant, Hammer Drill, Masonry Drill Bits, Phillips Screwdriver, Step ladder.
- Before you start choose the location where the appliance is to be installed and mark the position where the hole for the vent tube is to be drilled.
- Check there are no cables, gas pipes, water pipes or other items inside or on the outside of the wall using a suitable detector prior to drilling.
- Visually check the outside of the wall to ensure the vent hose will exit in a clear area.
- Time to drill. The hole for the vent tube will need to be drilled using a core drill. You may need the services of a plumber or builder to do this. The hole needs to be large enough in diameter for the vent tube to fit through. Measure the external diameter of the vent tube and choose the appropriate drill size required
- Fit and secure the cooker hood to the wall.
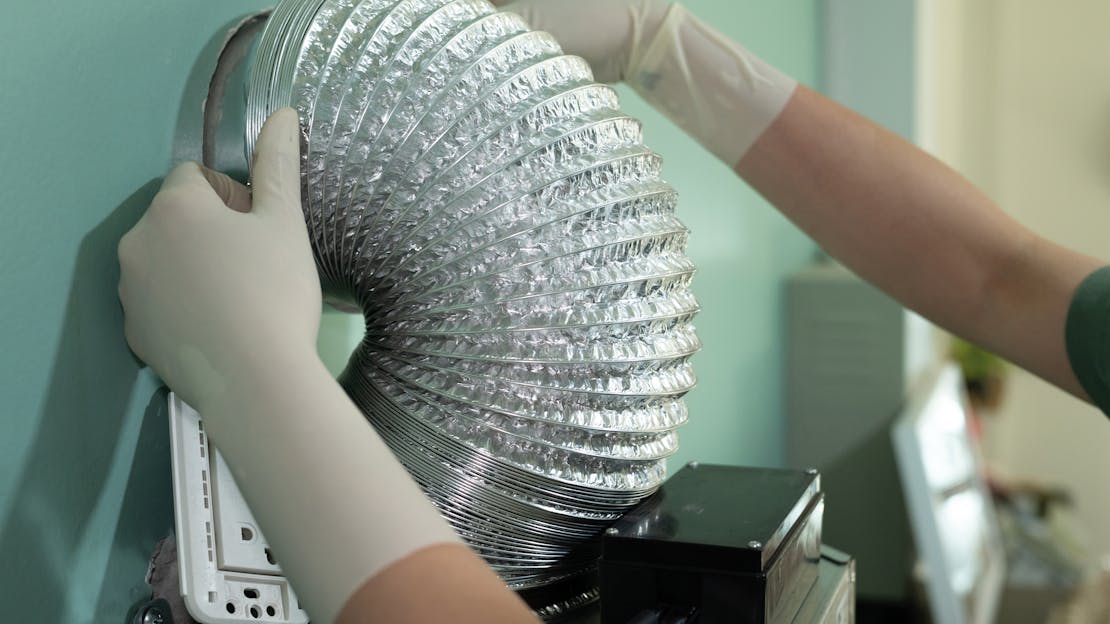
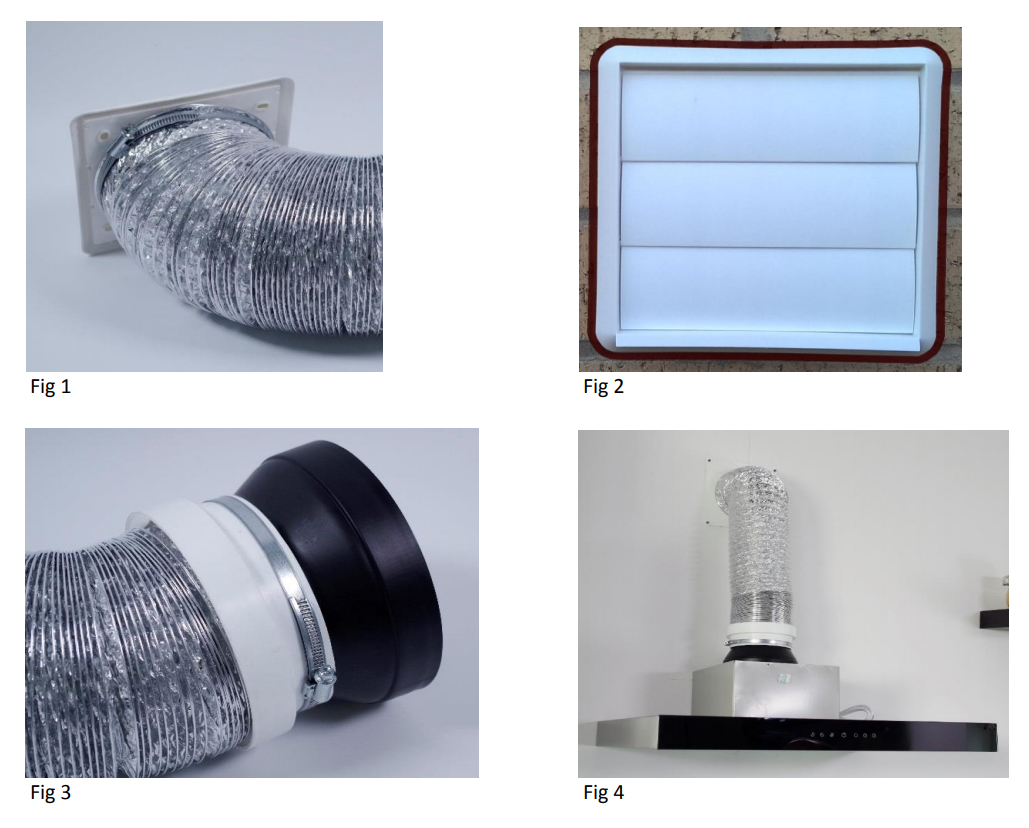
- Push the flexible ducting (4) carefully through the hole ensuring there is approx. 150mm of tube visible outside the property. (see fig 1 below)
- Fit the flexible ducting (4) to the to the External Grille (3) and secure using one of the supplied Worm Drive Clamps (Jubilee Clips) (1)
- Pull the vent hose back into the property until the External Grille fits flush to the exterior wall. It may be necessary to nick out some of the brickwork to ensure the screw of the Wormdrive Clamp doesn't prevent the External Grille fitting flush with the wall.
- Carefully mark the position of the 4 X holes in the External Grille onto the wall. Drill these holes and using the Rawl Plugs and Screws provided secure the External Grille to the wall. (see fig 2 below)
- Seal around the External Grille using Exterior Silicone Sealant. Choose the colour of sealant that best suits your external wall.
- Back inside the property. Fit the Internal Ducting Trim (5) over the Flexible Ducting (4). Slide this trim up the Flexible Ducting (4) until it reaches the internal wall. Mark the 4 X holes in the trim onto the wall.
- Drill the 4 x holes and using the Rawl Plugs and Screws provided fix the Internal Ducting Trim (5) securely to the interior wall to give a tidy finish.
- Screw one of the Duct Connectors (2) onto the internal end of the Flexible Ducting (4). (see fig 3 below)
- Attach the Duct Connector (2) to the outlet adaptor (supplied with the cooker hood) and secure the two together using the remaining Wormdrive Clamp (2). (see fig 4 below)
- Fit the outlet adaptor to the cooker hood. Adjust/Align the ducting to ensure there are no twists or kinks to ensure smooth airflow from the appliance.
- Fit and secure the chimney sections following the instructions supplied with the cooker hood to hide the ducting.
- Switch the hood on at maximum setting and check that the gravity flaps on the External Grille are opened effectively by the airflow.
- If everything is operating okay the installation is complete.
Everything you need to know about Cooker Hoods
Everything you need to know about Cooker Hoods
Cooker hoods are essential kitchen appliances that combine functionality with style. These sleek units efficiently remove cooking odors and grease from the air, ensuring a fresh and clean kitchen environment. Explore our collection of articles to discover how cooker hoods can enhance your cooking space with their effective ventilation and modern designs.
![The Ultimate Guide to Cooker Hoods]()
From understanding the different types and features to exploring installation options and maintenance tips, this comprehensive guide will equip you with the knowledge to transform your kitchen into a truly captivating and odour-free haven.
![The Ultimate Guide to Integrated Cooker Hoods]()
Within this comprehensive guide, we will delve into the various types, features, installation options, and maintenance tips for integrated cooker hoods, enabling you to make an informed choice and enhance your kitchen into a fresher, more enjoyable environment.
![Cooker Hoods Explained – The Ultimate Guide To Ventilating Your Kitchen]()
In this comprehensive guide, we will delve into the importance of proper kitchen ventilation and provide you with all the essential information you need to create a clean, comfortable, and healthy cooking environment.
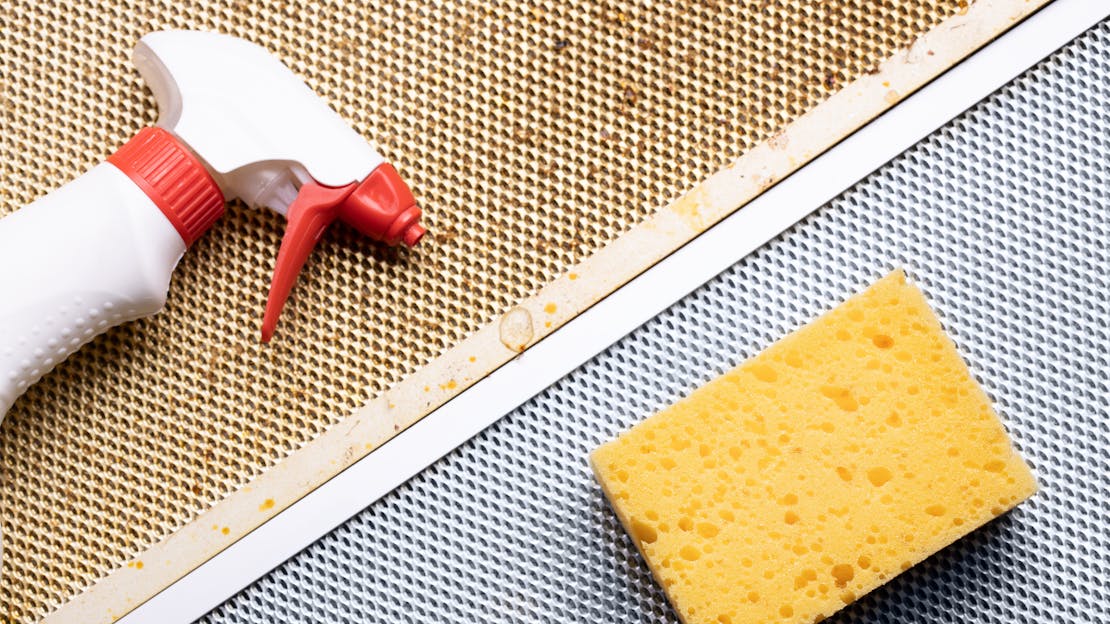
![The Ultimate Guide to Keeping Your Cooker Hood Clean]()
In this article, we’ll explore the best ways to keep your cooker hood clean, including what cleaner to use, what cloth to use, how to keep on top of dust, how to clean the filters, and how to stop fingerprints on stainless steel hoods.
![What is the difference between vented and recirculating cooker hoods?]()
Vented and recirculating cooker hoods serve the same fundamental purpose in a kitchen: they help to remove smoke, odours, grease, and airborne particles generated during cooking. However, they achieve this goal through different methods, and each has its own advantages and disadvantages. In this article we explore the key differences between vented and recirculating cooker hoods.
![Your Guide on How to Reduce Cooker Hood Noise Levels]()
Whether you're an enthusiastic cook or someone seeking a quieter kitchen, this guide provides valuable insights into reducing cooker hood noise. We'll delve into the underlying factors causing the disturbance and provide practical solutions, including routine maintenance and advanced soundproofing techniques, allowing you to transform your kitchen into a tranquil culinary haven. Say goodbye to the clamour and embrace a quieter, more enjoyable cooking experience.
![What do cooker hoods do?]()
Cooker hoods are essential appliances in kitchens designed to improve air quality and remove various airborne contaminants, odours, and pollutants generated during cooking. They play a crucial role in maintaining a clean, healthy, and comfortable kitchen environment. In this guide we will cover exactly what cooker hoods do.
![What are the Regulations on Cooker Hoods?]()
There are some general guidelines that you should follow when installing or using a cooker hood. These guidelines are designed to ensure that your cooker hood is safe and effective.
![What size cooker hood do I need?]()
Determining the right size cooker hood is crucial to ensure efficient smoke and odour extraction, creating a clean and comfortable cooking environment. In this guide, we will walk you through the considerations and steps involved in selecting the ideal size cooker hood that suits your specific requirements. Let's dive in and find the perfect match for your kitchen!
![A Guide to Choosing the Right Cooker Hood for Your Kitchen]()
With so many different types of cooker hood styles available, it can be difficult to know which one is right for your kitchen. In this article, we’ll explore the different types of cooker hood styles available, including downdraft cooker hoods, island hoods, visor hoods, and integrated hoods. We’ll also explain why it’s worth paying extra for a designer hood, and what the different shapes of cooker hood mean.
![A Guide to Cooker Hood Filters : Everything You Need to Know]()
Maintaining a cooker hood requires minimal effort, primarily focusing on the regular cleaning or replacement of the cooker hood filter. This simple maintenance task ensures optimal performance and effectiveness of your cooker hood in removing smoke, odours, and grease particles from your kitchen.
![A Comprehensive Guide on Choosing the Perfect Cooker Hood for Your Kitchen]()
Join us on this journey as we explore the world of cooker hoods, unravel the mysteries of extraction power and filtration systems, and uncover the secrets to finding a cooker hood that seamlessly integrates into your kitchen's design while efficiently clearing the air of unwanted impurities.
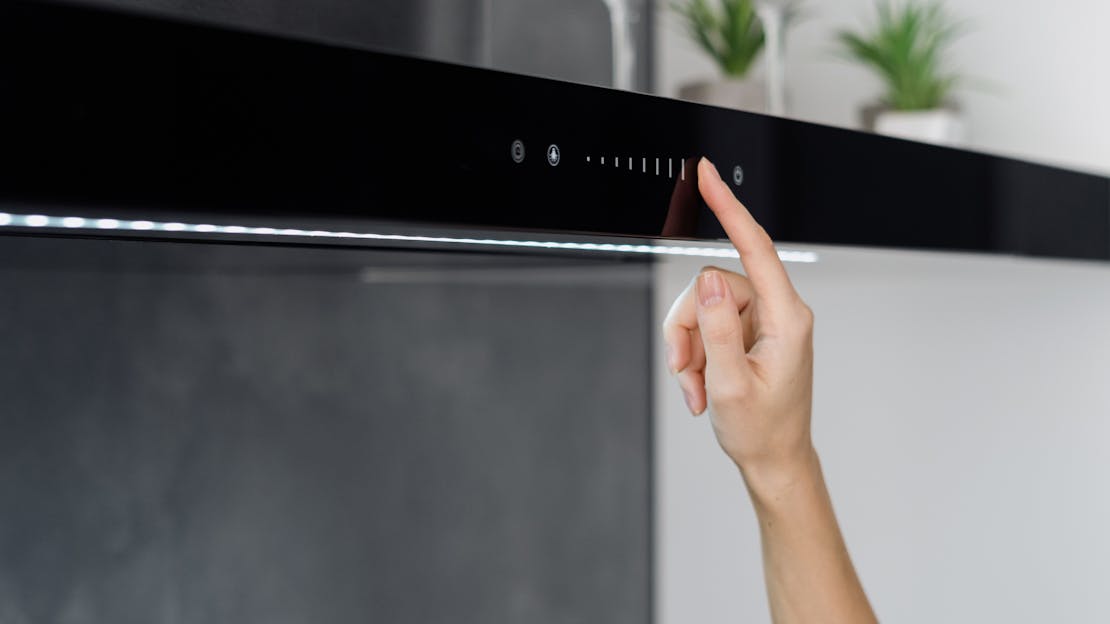
![Cooker Hoods: A Guide to Our Advanced Features]()
In this article, we’ll explore some of our key features, including quiet hoods, energy-efficient hoods, types of controls, boost function, timer, and peripheral aspiration.
![How do I know which Cooker Hood I need?]()
Cooker hoods might seem like one of those kitchen components that's just there. You notice it when it's too loud or if it doesn't do its job properly. But, in fact, the right cooker hood can be a silent hero in your culinary space. Let's get straight into figuring out the right one for you.
![How Far Away Above the Cooker Should the Cooker Hood Be?]()
Selecting the right cooker hood is just one piece of the puzzle; positioning it correctly is equally vital. The height at which the hood is placed above your cooker can influence its effectiveness, safety, and the overall aesthetics of your kitchen. Let's delve into the optimal heights and the factors affecting this crucial decision.
![Understanding Extraction Rate: A Simple Guide to Choosing the Right Cooker Hood]()
When choosing a cooker hood, one of the most important factors to consider is the extraction rate. However, this term can be confusing for many consumers. In this article, we’ll explain what the extraction rate is and how it’s calculated, so you can choose the right cooker hood for your kitchen with confidence.
![FAQ - Cooker Hoods]()
Ventilation matters more than you might think in your kitchen, and that's where cooker hoods come in. Our Cooker Hoods FAQ will help you understand the importance of these essential appliances. From removing cooking odours and improving air quality to selecting the right type of hood for your kitchen layout, we'll address your questions and concerns about cooker hoods to ensure your cooking space remains fresh and comfortable.
![Clearing the Air: Strategies to Combat Condensation with Cooker Hoods]()
This article delves into the causes of condensation during cooking and provides a comprehensive guide to mitigating its effects.